一. 创建项目
因为是初学SpringBoot,所以首先创建一个最简单的Maven项目来讲解Spirng-boot的简单使用,如果您想查看如何使用IDEA创建SpringBoot项目,请点击本站【SpringBoot项目搭建】话题下的其他文章
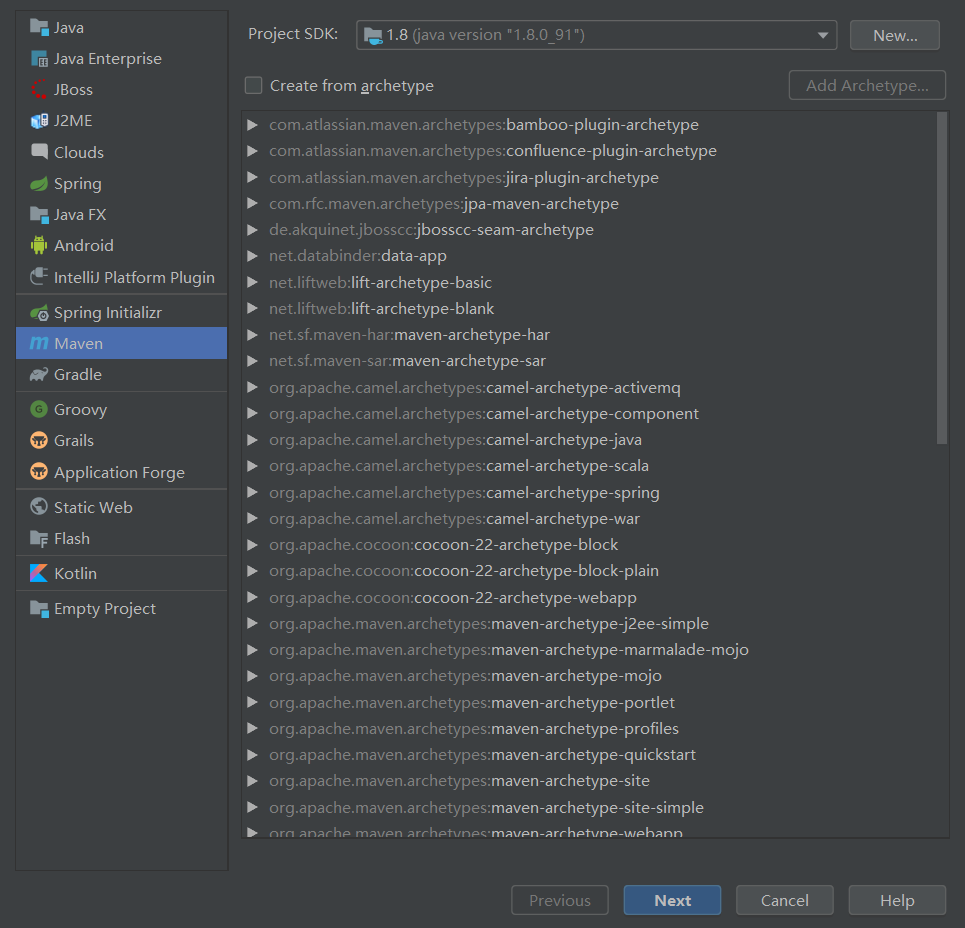
1. 打开IDEA,选择Maven,直接点击Next(注意,Create from archetype不需要选择)
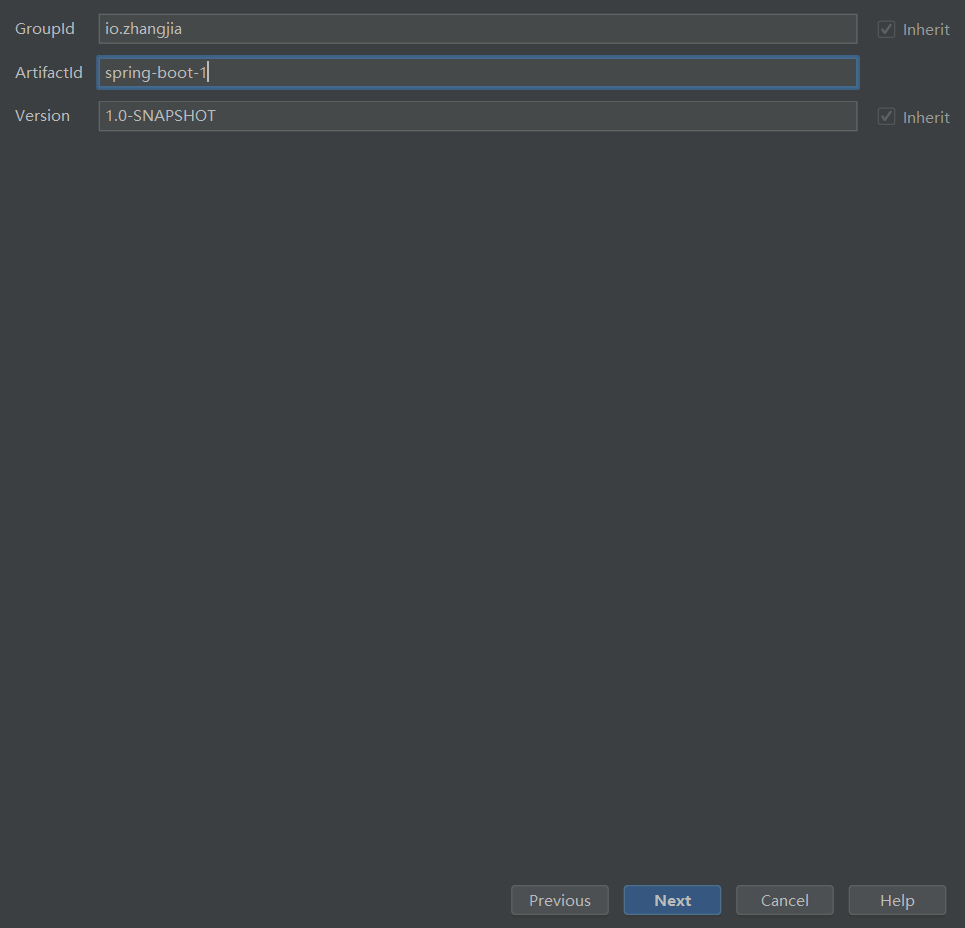
2. 输入GroupId和Artifactld
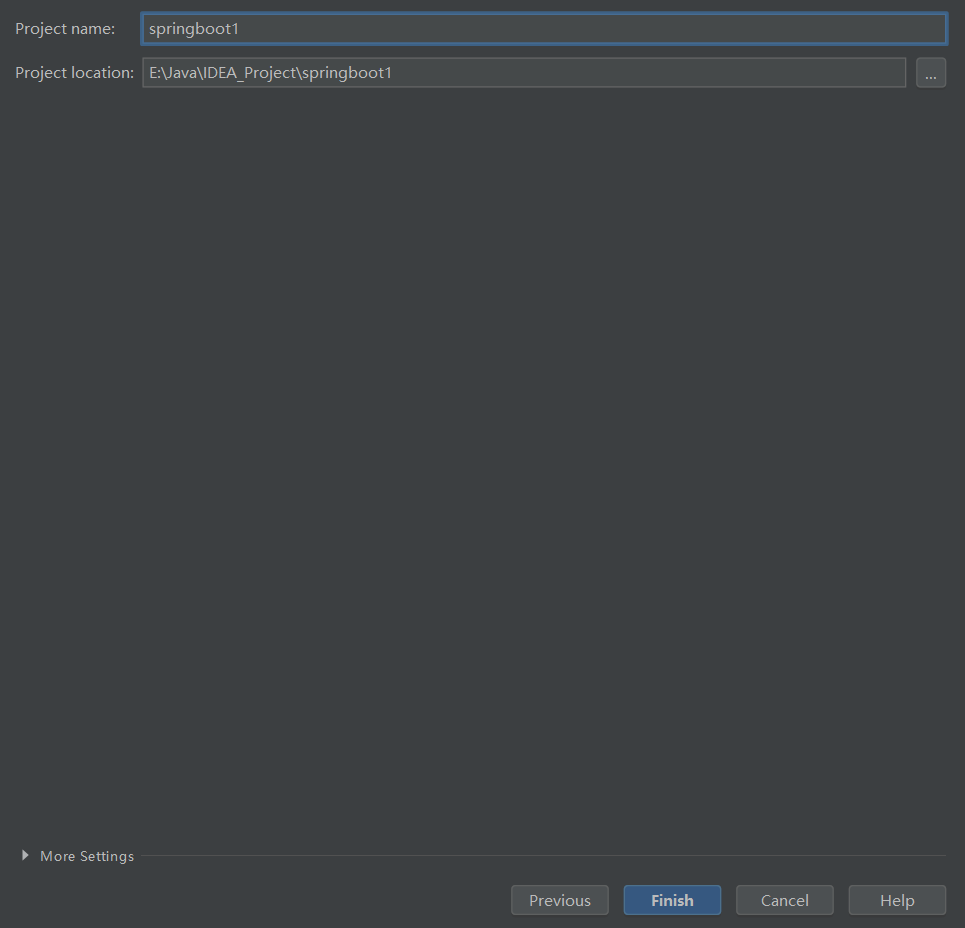
3. 配置项目地址
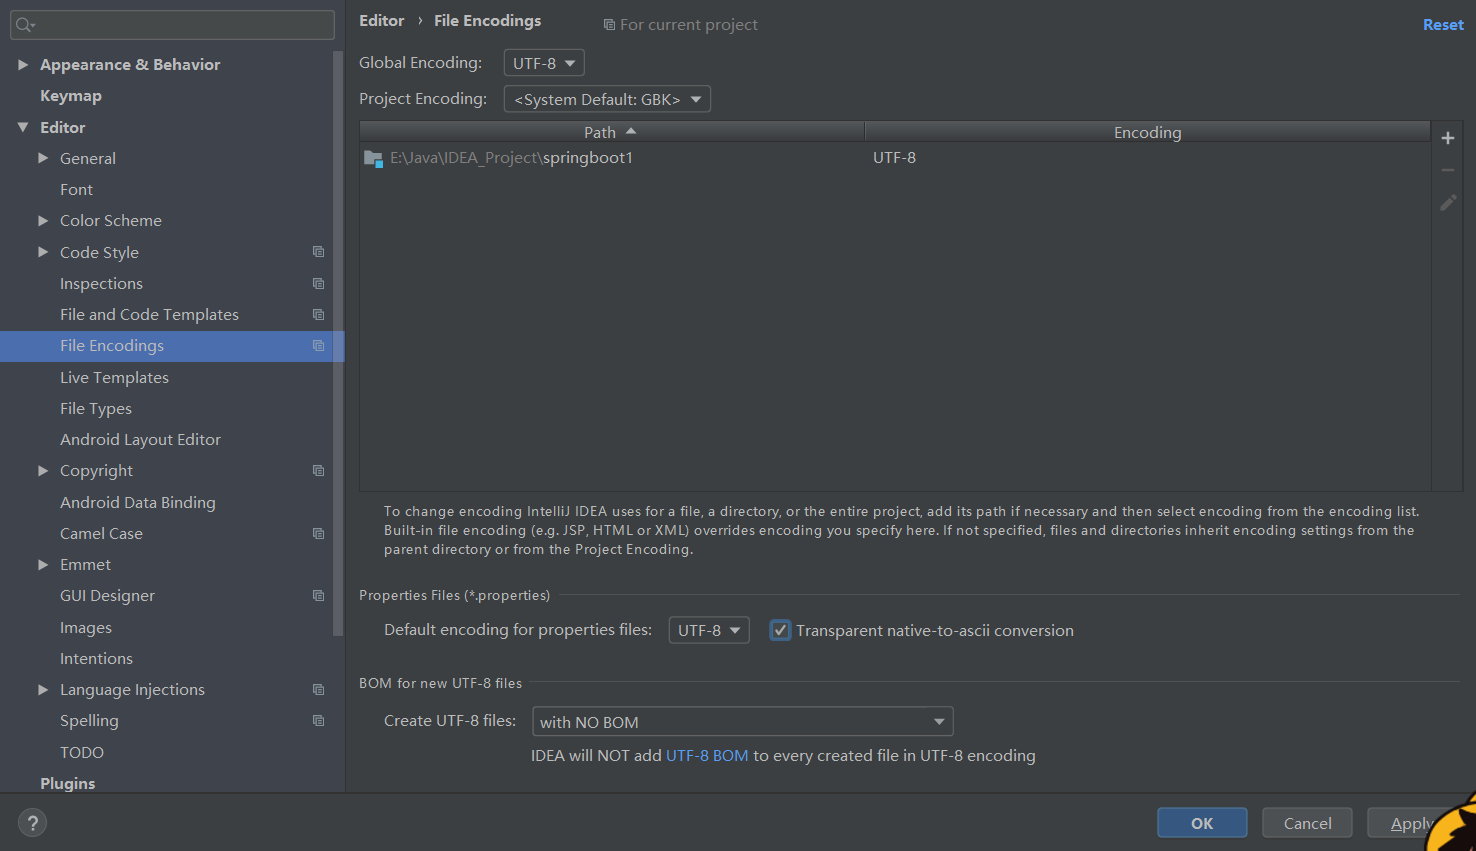
4. 防止乱码
为防止properties文件内容乱码,我们可以打开Settings,选择—>Editor—>File Encodings—>Properties Files(*-properties),将其设置为UTF-8,并勾选Transparent native-to-ascii conversion即可
二. 配置pom.xml
与SpringMVC相比,SpringBoot的pom.xml已经变的非常简洁,我们在pom.xml文件中配置如下内容:
<?xml version="1.0" encoding="UTF-8"?>
<project xmlns="http://maven.apache.org/POM/4.0.0"
         xmlns:xsi="http://www.w3.org/2001/XMLSchema-instance"
         xsi:schemaLocation="http://maven.apache.org/POM/4.0.0 http://maven.apache.org/xsd/maven-4.0.0.xsd">
    <modelVersion>4.0.0</modelVersion>

    <groupId>io.zhangjia</groupId>
    <artifactId>spring-boot-1</artifactId>
    <version>1.0-SNAPSHOT</version>
<!--********************************从SpringBoot继承默认值 ******************************-->
    <parent>
        <groupId>org.springframework.boot</groupId>
        <artifactId>spring-boot-starter-parent</artifactId>
        <version>2.1.6.RELEASE</version>
    </parent>
<!--************************* 添加Web项目的典型依赖 ******************************-->
    <dependencies>
        <dependency>
            <groupId>org.springframework.boot</groupId>
            <artifactId>spring-boot-starter-web</artifactId>
        </dependency>

<!--******************************* 用于单元测试 **********************************-->
        <dependency>
            <groupId>org.springframework.boot</groupId>
            <artifactId>spring-boot-starter-test</artifactId>
            <scope>test</scope>
        </dependency>

<!--****************************Java注解处理器********************************-->
        <!--spring默认使用yml配置,添加下面的依赖后便可以使用@ConfigurationProperties
        注解注入属性文件配置的属性值[1]。-->
        <dependency>
            <groupId>org.springframework.boot</groupId>
            <artifactId>spring-boot-configuration-processor</artifactId>
            <optional>true</optional>
        </dependency>
    </dependencies>
<!--**********************Mave插件*******************************************-->
                <!--该插件以Maven的方式为应用提供Spring Boot的支持[2]。-->
    <build>
        <plugins>
            <plugin>
                <groupId>org.springframework.boot</groupId>
                <artifactId>spring-boot-maven-plugin</artifactId>
            </plugin>
        </plugins>
    </build>


</project>
可以看到,在dependency中,我们甚至可以省略version属性,因为相关的版本信息已经在parent标签内封装
三. Controller
在io.zhangjia.controller包下新建TestController.java,其中在类上加上@RestController注解表示该Controller中的所有的方法都返回 JSON 格式,直接可以编写 Restful 接口,相当于给这个类上的所有方法添加了@ResponseBody 注解
package io.zhangjia.controller;

import org.springframework.web.bind.annotation.RequestMapping;
import org.springframework.web.bind.annotation.RestController;

@RestController
public class TestController{
    @RequestMapping("/hello")
    public String test(){
        return "孙著杰大好人";
    }
}
在io.zhangjia包下新建SpringBootApplication.java,命名格式一般为:项目名Application,并为其添加@SpringBootApplication注解。@SpringBootApplication注解 = (默认属性)@Configuration + @EnableAutoConfiguration + @ComponentScan。
package io.zhangjia;

import org.springframework.boot.SpringApplication;
import org.springframework.boot.autoconfigure.SpringBootApplication;

@SpringBootApplication
public class SpringBoot01Application {
    public static void main(String[] args) {
        SpringApplication.run(SpringBoot01Application.class,args); //SpringBoot01Application为该类类名
    }
}
注意,一定要将其放在io.zhangjia包下,也就是和Controller包同级,否则将会无法扫描所有的组件。原因如下:
我们打开@SpringBootApplication,可以看到以下内容
....
@ComponentScan(
    excludeFilters = {@Filter(
    type = FilterType.CUSTOM,
    classes = {TypeExcludeFilter.class}
),
....
再打开其中的@ComponentScan注解,可以找到以下代码:
String resourcePattern() default "**/*.class";
也就是说,如果我们将SpringBoot01Application.java放在了controller包下,则只会扫描controller包以及其所有子目录下的所有文件,而像entity等包下的文件都不会被扫描。
所以我们一定要将其放在io.zhangjia包下,这样所有的entity等包下的文件以及其子目录下的文件都会被扫描到。
此时我们再执行SpringBoot01Application类中的main方法,并访问http://localhost:8080/hello,页面将会输出“孙著杰大好人”。
(注意,不需要配置Tomcat,Springboot内置Tomcat,能够极大的提高我们的开发效率和服务器启动时间)
四. 修改端口号
如果你访问http://localhost:8080时并没有出现指定的内容,而是弹出窗口让你输入账号和密码,那么有可能是你的8080端口已经被占用,我们可以通过properties文件将8080修改为其他的端口号,在resources文件下新建主配置文件:application.properties,配置内容如下:
server.port=8888
server.servlet.context-path=/sb
接下来访问http://localhost:8888/sb/hello,网页内容即可正常显示。
(ps. 除了使用application.properties外,我们还可以使用application.yml来完成端口号等信息的修改,详情请见本站《Spring-boot的测试和配置文件》一文。)
五. 参考资料
[1] 吸引力的觉悟
[2] 易生一世

请登录之后再进行评论